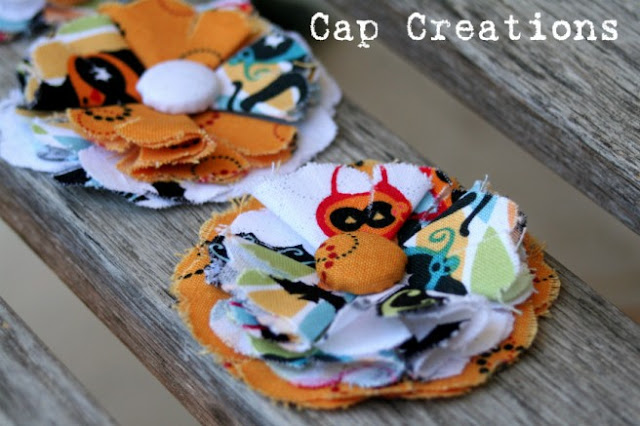
Blogging is fun! Halloween Swap
Wednesday, September 29, 2010


We have a three year old biological son, Jude- who brings more joy to our lives than we could have ever imagined! I'm blessed to be a stay at home mom to Jude, and Joshua is an AP World History teacher and soccer coach at McKinney High School. Several months ago, after praying that God would break our hearts for the things that break His, our lives radically flipped upside down with the burden of adoption heavy on our hearts. In truly seeking God's will for our lives it has become overwhelming clear that His truth calls us to care for the orphans. We are in the early stages of an international adoption from Ethiopia with All God's Children International, and we are desperately seeking to be obedient to this God given burden to live out of love... and sometimes out of our comfort zone! We are in uncharted territory and are entirely relying on God in ways we never have before- it's a great place to be in life! He is blowing our socks off in the way He is unfolding this story of bringing home our child! We are humbled at how He is using His people to write His story in our lives through financial generosity, encouragement, and prayers! We cannot wait to tell our sweet Ethiopian boy of the amazing, faithful ways God brought him into our family! We'd love to have you be a part of this story as well!
Materials:
Bottle Caps
Rubber Mallet
Bottle Cap Art
1 Inch Circle Puncher
1 Inch Page Pebbles
Glue Stick
E-6000 Adhesive
Magnets
Place bottle cap on a hard surface (concrete works best for me) and lightly tap it with the rubber mallet to flatten it a bit. Tap turn, tap turn until you get it sorta even.
As you can see in the photo below, the one on the right has been flattened just a bit.
We do this so when the magnet is attached to the back it will extend beyond the edges of the cap like photo below. Don't want bottle caps scratching up any refrigerators! Yikes!
Use a 1 inch circle punch to punch out your bottle cap art.
Once punched out, place a page pebble over the front of the cap art. These stick on like a sticker.
Peel off the back layer of the photo lab paper. (For some reason I have it in my head that it will glue better to that surface rather than the slick backside of photo paper. Don't know if that's true.) Skip the step if using regular paper.
Apply glue from glue stick to the backside of your cap art.
Stick art to the bottle cap and apply pressure for a few seconds.
Place a dab of E-6000 to the backside of the bottle cap.
Attach magnet.
And you are done my friends!
How cool are these?!
Made these adorable owls too. Also from Sincerely Susan Designs.
Don't know if you can tell in this photo or not but the owls were printed on an inkjet printer and they are just not as clear. The page pebbles seem to magnify things too, really making those pixels stand out. Highly recommend using a photo lab for your art.
Matthew and I have been married for 2 and a half years and live in Asheville, NC. I am an RN, and after the earthquake this year, went down to aid in disaster relief at a clinic in Penier, outside of Port-au-Prince. Once arriving, God had other plans for me that specific trip, and I ended up at Children of Hope Orphanage and Hospice to take care of the little ones there that hadn't had a check up in a while. There, I met Ashley, and our world turned upside down. Since then, we have been pursuing her adoption as the process of patience grows us stronger as a family.