Shop Now
Classmate Valentine Printable
Monday, January 23, 2012
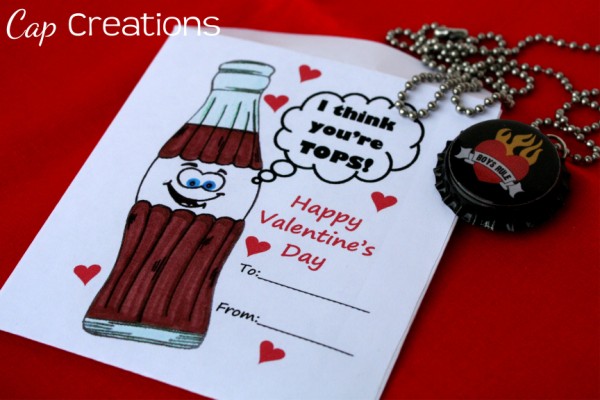
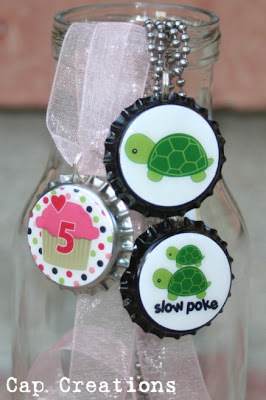
It's perfect for stuffing with a bottle cap necklace or bottle cap magnet. Which by the way we have a tutorial for each! Necklace here and magnet here. (We make it so easy on you.)
We did these last year for my son's 1st-grade class and they were an absolute hit! Classmates got the necklace and teacher the magnets. And everyone loved them!
To Make:
Print our Valentine envelope HERE.
Print on regular 8.5x11 paper.
Cut around the edge. Cut inside the outline so that no black is left.
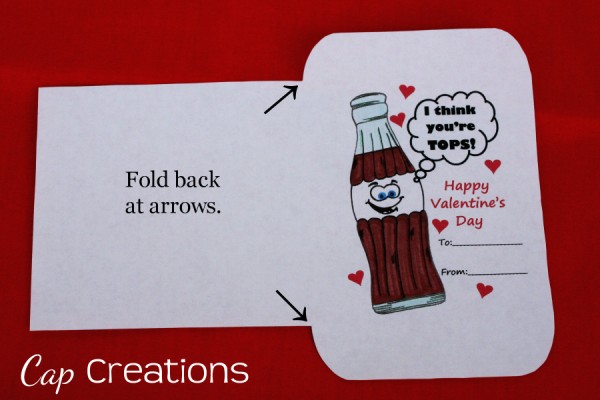
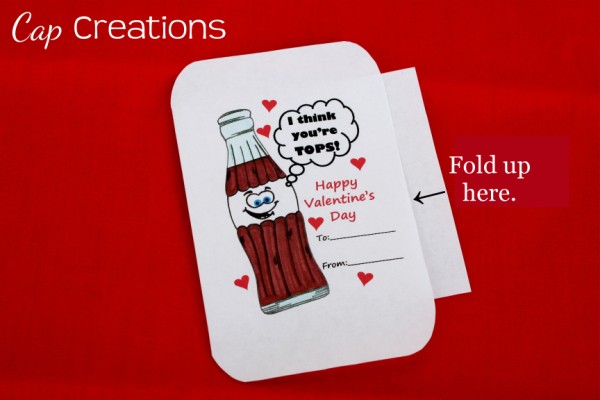
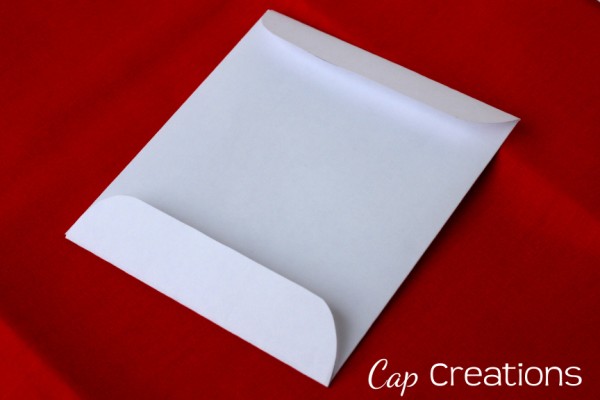
Next, you need to fold back the big tab where the arrows show below.
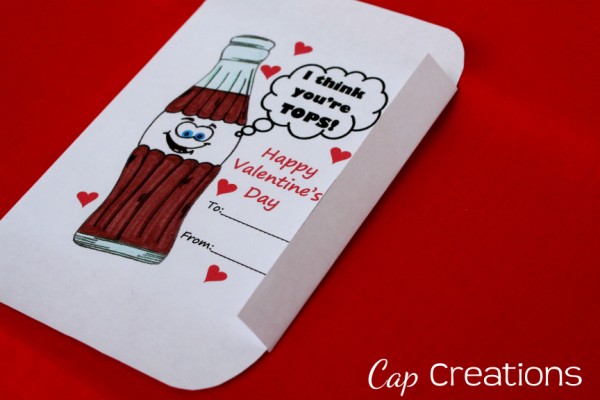
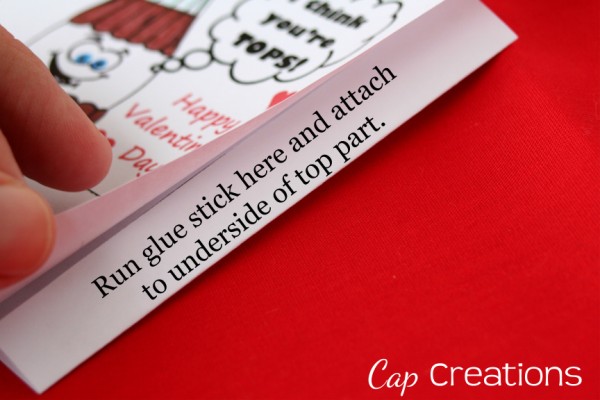
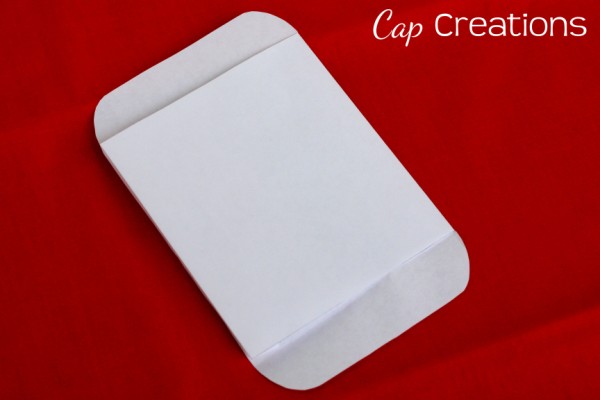
You will now have something that looks like the photo below. Fold the flap that sticks out, upward. Again where the arrow is showing in the photo below.

Bottle Cap Art Freebie
Friday, September 2, 2011
Bottle Cap Magnet Tutorial
Monday, September 6, 2010

Materials:
Bottle Caps
Rubber Mallet
Bottle Cap Art
1 Inch Circle Puncher
1 Inch Page Pebbles
Glue Stick
E-6000 Adhesive
Magnets
Place bottle cap on a hard surface (concrete works best for me) and lightly tap it with the rubber mallet to flatten it a bit. Tap turn, tap turn until you get it sorta even.
As you can see in the photo below, the one on the right has been flattened just a bit.
We do this so when the magnet is attached to the back it will extend beyond the edges of the cap like photo below. Don't want bottle caps scratching up any refrigerators! Yikes!
Use a 1 inch circle punch to punch out your bottle cap art.
Once punched out, place a page pebble over the front of the cap art. These stick on like a sticker.
Peel off the back layer of the photo lab paper. (For some reason I have it in my head that it will glue better to that surface rather than the slick backside of photo paper. Don't know if that's true.) Skip the step if using regular paper.
Apply glue from glue stick to the backside of your cap art.
Stick art to the bottle cap and apply pressure for a few seconds.
Place a dab of E-6000 to the backside of the bottle cap.
Attach magnet.
And you are done my friends!
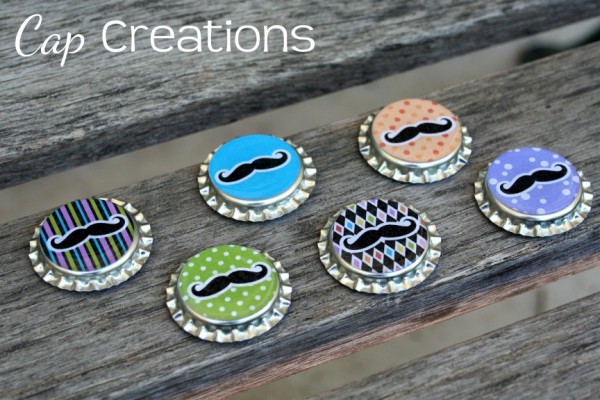
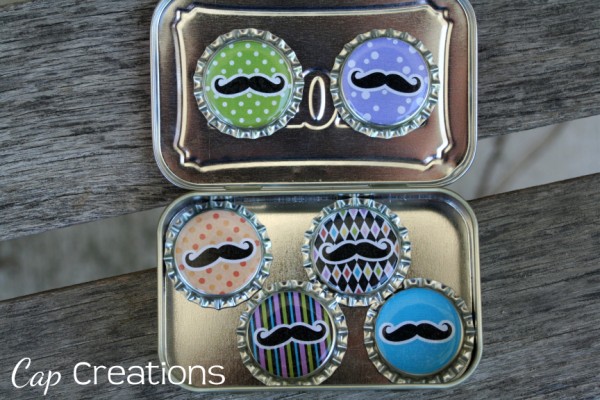
How cool are these?!
Made these adorable owls too. Also from Sincerely Susan Designs.
Don't know if you can tell in this photo or not but the owls were printed on an inkjet printer and they are just not as clear. The page pebbles seem to magnify things too, really making those pixels stand out. Highly recommend using a photo lab for your art.
S- The DIY Showoff, Under the Table and Dreaming, M - The Girl Creative, MM Party at BNOTP, Making the World Cuter, Sumo's Sweet Stuff, Keeping it Simple, T- Coastal Charm, All Thingz Related, Today's Creative Blog, Hope Studios W- Trendy Treehouse, Blue Cricket Design, Life in the Pitts, Me and My Bucket, Someday Crafts, My Backyard Eden, Room to Inspire, Creations by Kara, Just a Girl, T- The Shabby Chic Cottage, Life as Lori, Somewhat Simple, Beyond the Picket Fence, Fireflies and Jellybeans, F- A Few of My Favorite Things, It's FUN to Craft, The Shabby Nest, Fingerprints on the Fridge, Tatertots and Jello, Funky Junk Interiors, S- Along for the Ride, I Heart Naptime
Bottle Cap Necklace Tutorial
Monday, August 30, 2010
These bottle cap necklaces are great for boys and girls and they make terrific party favors like the ones we did HERE. I'm telling ya they love 'em!
Before we get started here are a few notes about the bottle cap artwork. The artwork for this tutorial needs to be either printed on a color laser printer or at a local photo lab (like pictures) and it needs to fit in a 1-inch circle. Do not use an inkjet printer!!! The ink will run! You can create art on a photo editing program like Photoshop or you can purchase pre-made designs. A very BIG Thank You to Sincerely Susan for providing all of the bottle cap art for this tutorial.
Materials:
Bottle Caps Drill (not pictured
1/16 Drill Bit
File or Sandpaper (not pictured)
Bottle Cap Art (have this printed ahead of time)
1 inch Circle Puncher
Glue Stick
Diamond Glaze
Small Split Rings
Ribbon and/or Ball Chain Necklace
1. Drill a small hole on the edge of the cap using a drill and the 1/16 drill bit. File or sand the backside of the hole as the edges will be rough and sharp. Set the cap aside.
2. Punch out the artwork using a 1-inch circle puncher.
3. If the artwork was printed at a photo lab peel off the back layer of paper. This will allow the glue to adhere better. Skip this step if the artwork was printed on a laser printer.
4. Apply glue to the backside of art with a glue stick.
5. Stick art to bottle cap. Ensure that artwork is aligned with the hole that was drilled earlier. Wouldn't want it upside down.
6. Apply Diamond Glaze, use the tip of the Diamond Glaze to move glaze around to cover the entire area. Squeeze out more as needed. Pop any bubbles with a straight pin and allow to dry. This will take a while (overnight). Do not shake Diamond Glaze as this will cause unwanted bubbles.
7. Once dry add a split ring through the drilled hole and add a ribbon or ball chain. Note: You can carefully put a flame to the ends of the ribbon to prevent it from fraying. It will slightly melt the ends.
S- The DIY Showoff, Under the Table and Dreaming, M - The Girl Creative, MM Party at BNOTP, Making the World Cuter, Sumo's Sweet Stuff, Keeping it Simple, T- Coastal Charm, All Thingz Related, Today's Creative Blog, Hope Studios W- Trendy Treehouse, Blue Cricket Design, Life in the Pitts, Me and My Bucket, Someday Crafts, My Backyard Eden, Room to Inspire, Creations by Kara, Just a Girl, T- The Shabby Chic Cottage, Life as Lori, Somewhat Simple, Beyond the Picket Fence, Fireflies and Jellybeans, F- A Few of My Favorite Things, It's FUN to Craft, The Shabby Nest, Fingerprints on the Fridge, Tatertots and Jello, Funky Junk Interiors, S- Along for the Ride, I Heart Naptime