flowers
Showing posts with label flowers. Show all posts

From the Garden

Tuesday, August 23, 2011

3 comments
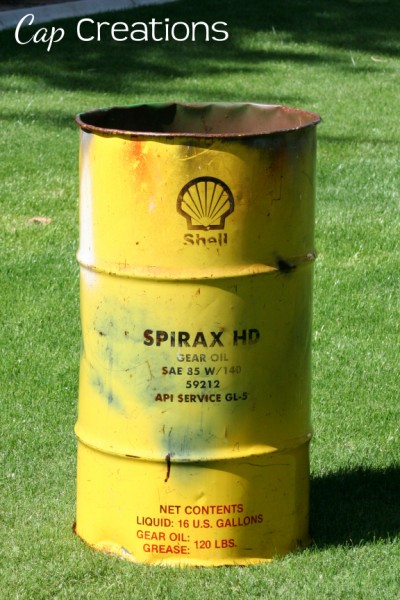
Something so rustic and beat ...


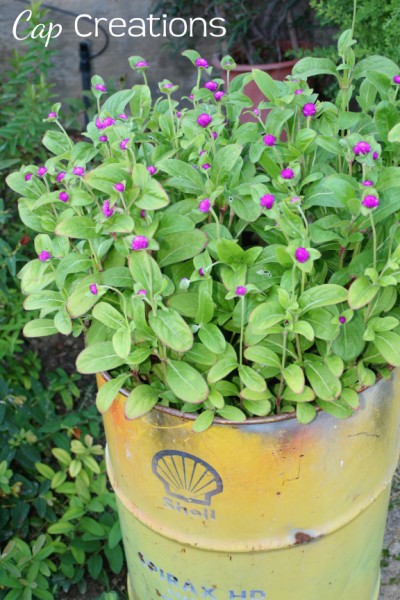
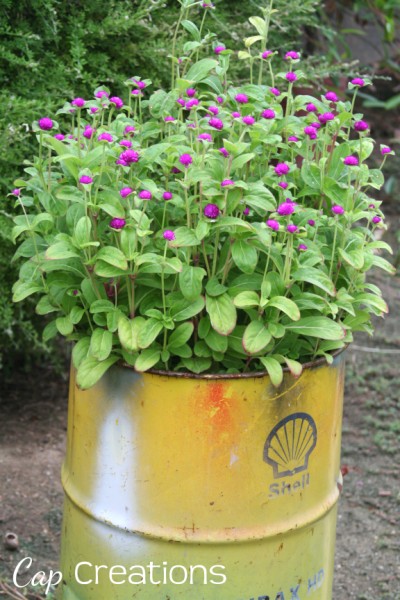
...becomes so pretty when adding flowers.


We love our flowers and we love our "garden junk" as we like to call it.

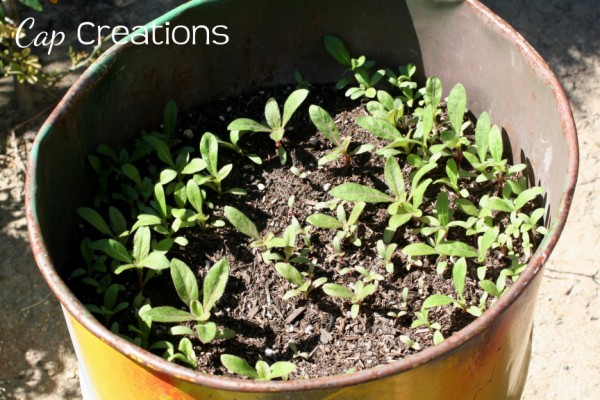
Last summer we bought a little six pack of these flowers. I'm sorry I don't recall the name. When they died I told my son that if we keep the seeds from the dead flowers we can plant them again for next summer. From that one six pack he collected thousands and I mean thousands of seeds! He saved them all winter long and in the spring we planted them. They are doing fantastic! We only wish we would have planted them all, all over the yard.

You can bet we will be collecting the seeds again this year! He did such a great job caring for them. He planted, he watered and he patiently waited. He looks at them daily and says "I can't believe how much my flowers have grown!" love it.

Love him seeing how is work and patience has paid off!!! Serious patience going on here by the way. From the waiting all winter to plant the seeds to the waiting until they sprout to the waiting on the flowers to bloom.

Linking to:
Read More

DIY: Pretty Posies

Wednesday, August 17, 2011

2 comments
 The lovely Heather Bullard has allowed us to share her idea on how to pretty up some plain ole grocery store flowers.
Most of us see grocery store flowers on a weekly basis while we're running to pick up the usual milk, butter and eggs. Sometimes the bundles seem a little sterile. Tightly bound and shrink wrapped. It's hard to find them as lovely as a bouquet from a floral shop or even our own backyard gardens.
I thought I'd share a quick way to spruce them up and give them that wow factor for very little money and only a few minutes of prep time.
Posies2

  • Purchase a bundle or two from your local store.
  • The two I bought cost $9 for both.
  • Gather a few "extra" flowers, branches or vines from your garden.
  • Go through your ribbon stash and choose your favorites.
  • Think about a variety of colors and textures when choosing.
Posies3

  • Dig up some old jewelry. Pins, brooches, clips or earrings work well.
  • If you don't have those on hand, make a cute homemade tag instead.
  • A tiny picture frame, antique key or locket would be pretty too.
Posies4

  • Divide the flowers and foliage into several posie bundles.
  • Clip all the stems at an angle as evenly as possible.
  • A small Ziploc bag will hold water. Secure with a rubber band.
Posies5

  • I love using brown kraft paper to wrap them. It adds an earthy, natural feel. 
  • You could also use gift wrapping paper or vintage wallpaper.
  • Scallop the edges with decorative scissors for a finished look.
Posies6

  • Tie your pretty posie with a beautiful ribbon.
  • And finally, add your favorite embellishment or gift tag!
Posies7

These would make lovely hostess gifts or could be given as bridal shower or party favors. Very simple to do, gentle on our wallets and packed with thoughtfulness. Be sure to let me know if you give it a try and have fun!
Read More

Happy Planting

Wednesday, August 18, 2010

4 comments
We had a couple of small areas that needed a little sprucing up. 

So the boys and I planted.
Nothing like some pretty flowers to make your day! And even better when they are growing in your own yard!
Read More

Purse Planter

Friday, July 23, 2010

21 comments
Recently guest posted this over at The Queen of My House and now I want to share it here with you.

When I saw this handbag in my sis in law's "to the thrift store pile" I had to have it. Not cause I really love handbags and it was cute and stylish, which it was.

But for this! I made it into a purse planter! Now how cute is that?!
I simply cut out the liner which allowed more room for the soil. Then I took an ice pick and poked drainage holes in the bottom of the purse (there was a leather bottom). Next I took a plastic shopping bag, cut the bottom off, then lined the purse. This way the moisture will be held in on the sides but cutting out the bottom will allow it to drain. Fill with soil and plants and ta da! You can even plant the pockets if you like!

Check it out, being all cute next to my bench!
Have you made any crazy planters lately?

Linking up at:
S- The DIY Showoff, Under the Table and Dreaming, MThe Girl Creative, MM Party at BNOTP, Making the World Cuter, Sumo's Sweet Stuff, Keeping it SimpleT- Coastal Charm, All Thingz Related, Today's Creative Blog, Hope Studios, ReinventedW- Blue Cricket Design, Life in the Pitts, Me and My Bucket, Someday Crafts, My Backyard Eden, Room to Inspire, Creations by Kara, Just a Girl, T- The Shabby Chic Cottage, Life as Lori, Somewhat Simple, Beyond the Picket Fence, Fireflies and JellybeansF- A Few of My Favorite Things, It's FUN to Craft, The Shabby Nest, Fingerprints on the Fridge, Tatertots and Jello, Funky Junk InteriorsS- Along for the Ride, I Heart Naptime
Read More

Crate Address Planter - Do It Yourself

Monday, June 14, 2010

51 comments
One day on the way to the store I found this old crate. It was just sitting there all abandoned and I could see it's potential through the mud and spiderwebs. And it was very sturdy.  I decided to make an address planter with it. What do you think? Keep reading to see how I did it.
Note: I blacked out the street for privacy issues. The full street name is really there.

First things first, clean and paint the crate. I used black but now I'm kinda wishing I would have gone with something more exciting like green or turquoise. I taped off the metal pieces and used spray paint.

Plan the layout by getting the measurements of where the address number and street will fit on the crate. Type out the address on the computer in the proper size (to fit the crate) and print it out on regular paper. Next trim the excess paper off.

Flip the address papers over and cover the back sides with chalk, I used the kids sidewalk chalk.

Tape the address paper to the crate in the correct spot, with the chalk side touching the crate. Trace the outline of the address. I used the tip of a mechanical pencil without the lead.

This will transfer the outline of the address and it will look something like this below.

Using a small paint brush and acrylic craft paint, paint the address. Use the chalk outline as a guide. This did take a bit of time but not as much as I thought it would. I also went back and gave it a second coat. Something you also may want to do when it dries is give it a coat of clear spray paint to seal it.

Line the inside. I used a thick trash bag and a staple gun. I did not cover the bottom. This crate already had those holes which were perfect for drainage.

And here she is!
Thanks for reading! Let me know if you come by. And thank you again son for all your help. Those are his little hands in the photos again.

Linking up at:
S- The DIY Showoff, Under the Table and Dreaming, MThe Girl Creative, MM Party at BNOTP, Making the World Cuter, Sumo's Sweet Stuff, Keeping it SimpleT- Coastal Charm, All Thingz Related, Today's Creative Blog, Hope Studios, ReinventedW- Blue Cricket Design, Life in the Pitts, Me and My Bucket, Someday Crafts, My Backyard Eden, Room to Inspire, Creations by Kara, Just a Girl, T- The Shabby Chic Cottage, Life as Lori, Somewhat Simple, Beyond the Picket Fence, Fireflies and JellybeansF- A Few of My Favorite Things, It's FUN to Craft, The Shabby Nest, Fingerprints on the Fridge, Tatertots and Jello, Funky Junk InteriorsS- Along for the Ride, I Heart Naptime
Read More

Current Surroundings

Monday, February 22, 2010

2 comments


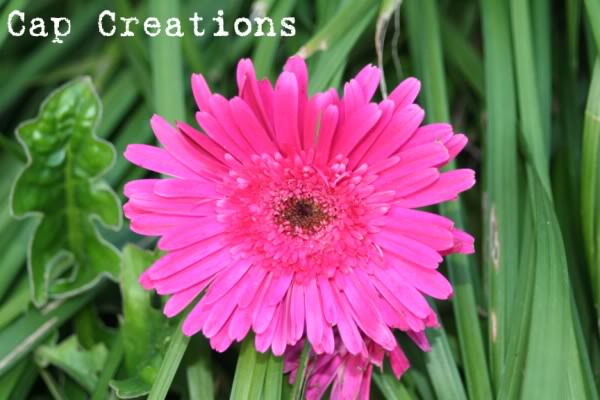
Many of you have expressed lately that you are tired of winter and you can't wait until spring. I however cannot share these feelings. Having a mild winter but with more than usual rain (not enough for me though), I still am not tired of winter.
God's beauty that is currently surrounding me!


Today is the last day to enter our current giveaway! Go enter if you haven't yet! Winner will be announced tomorrow!
Read More

Photo Friday - Grandma's Flowers

Friday, September 4, 2009

No comments
My husbands grandma is a huge John Deere fan. Absolutely loves them! I found this cute cookie jar and took it to a local flower shop and had them put a flower arrangement in it. Look how cute! I love how they even placed the top on there!
Photo Friday is a collection of my own personal favorite photos.
Read More

Photo Friday - Mom take a picture! - SUNFLOWER

Friday, June 26, 2009

No comments
Photo Friday is a collection of my own personal favorite photos.

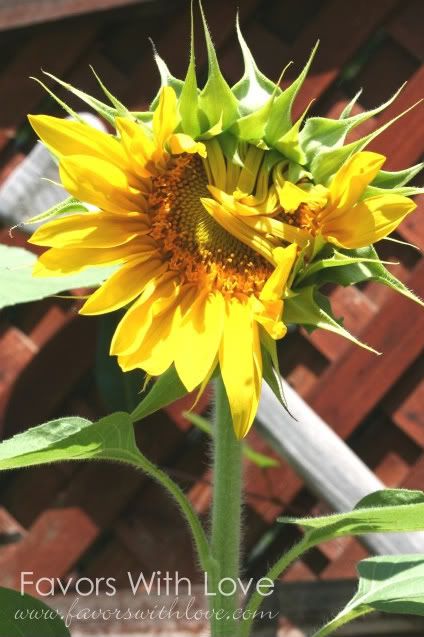
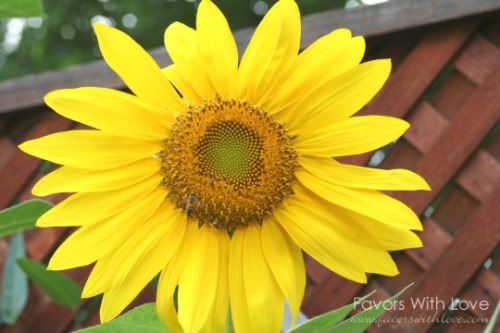
Several weeks ago my little guy planted these sunflower seeds. He has been watching the greenery grow and grow and grow. I think as the stems got taller than him he kinda forgot that they were still going to get a flower. Then the other day he looked up and noticed this one opening. He ran in the house with excitement shouting "Mom take a picture, take a picture!" and here it is. The first, with several to follow.

And a few days later.

And a few more days.


Don't they just make you happy?
Read More