
Cap Creations ·
cause ·
Ladybird Ln. ·
pillow fight for a cause ·
pillowcase ·
pillowcase tutorial ·
sewing
8 comments
Pillow Fight!!!
Thursday, June 16, 2011
Hello new hobby! Remember that post? Well geez, who knew it would be so fun?! Okay well I guess several of you knew that.
To me sewing has always been intimidating. And each time I would try to sew my mom was there to help and it was always easier to just let her do it for me. ("Move out my way, let me do that!" lol!) Taking the sewing class at my local fabric shop was very helpful. I learned a ton in that small amount of time and am totally comfortable with my machine. Yay!
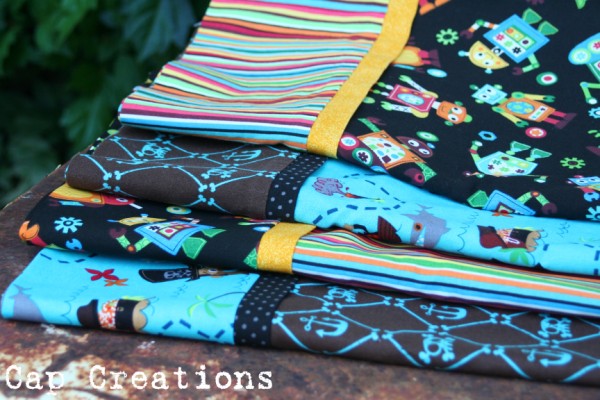
I have been doing small projects here and there and I will share them one day but today it's all about the Pillow Fight for a Cause! I made 4 pillow cases (2 to donate and 2 for my boys) using the Little Birdie Secrets tutorial that they guest posted here at Cap Creations just last week.
This project was soooooo fun and easy! I absolutely loved it! Check them out!
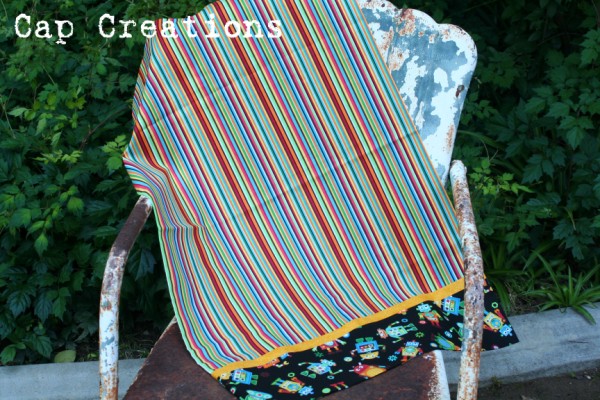
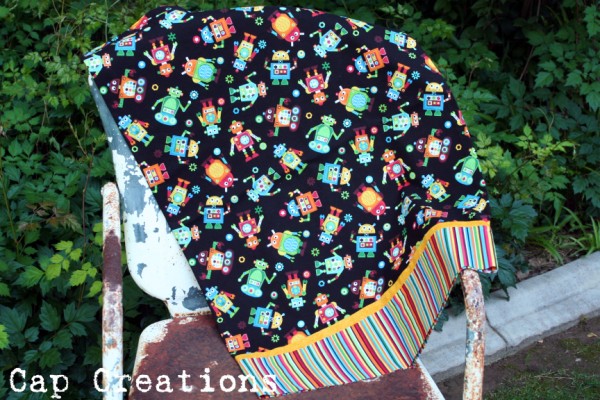
Robots!
Pirates!


Now for the Pillow Fight we are encouraged to enter any pillow project as long as we donate a pillowcase. So the pillow that I am entering in the contest is the Sprocket Pillow below. Ohhh soooo pretty!
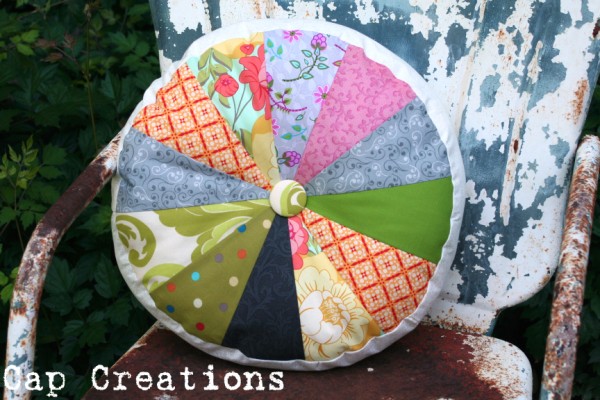
I found the pattern for this over at Cluck Cluck Sew. Hers are much prettier though. :)
So come on friends! If I can make pillowcases for a great cause anyone can. Really!
Click on over to the Pillow Fight right now for more info and commit to donate a pillow case for children in hospitals!
Read More
To me sewing has always been intimidating. And each time I would try to sew my mom was there to help and it was always easier to just let her do it for me. ("Move out my way, let me do that!" lol!) Taking the sewing class at my local fabric shop was very helpful. I learned a ton in that small amount of time and am totally comfortable with my machine. Yay!
I have been doing small projects here and there and I will share them one day but today it's all about the Pillow Fight for a Cause! I made 4 pillow cases (2 to donate and 2 for my boys) using the Little Birdie Secrets tutorial that they guest posted here at Cap Creations just last week.
This project was soooooo fun and easy! I absolutely loved it! Check them out!
Robots!
Pirates!
Now for the Pillow Fight we are encouraged to enter any pillow project as long as we donate a pillowcase. So the pillow that I am entering in the contest is the Sprocket Pillow below. Ohhh soooo pretty!
I found the pattern for this over at Cluck Cluck Sew. Hers are much prettier though. :)
So come on friends! If I can make pillowcases for a great cause anyone can. Really!
Click on over to the Pillow Fight right now for more info and commit to donate a pillow case for children in hospitals!


