Materials:
Clear Glycerin Soap
Microwave Safe Bowl (Bowl with a pour spout works best.)
4"X8" Clear Poly Bags at least 1.5 millimeters thick.
Rubbing Alcohol in a small spray bottle.
Ice water in a large/ medium bowl.
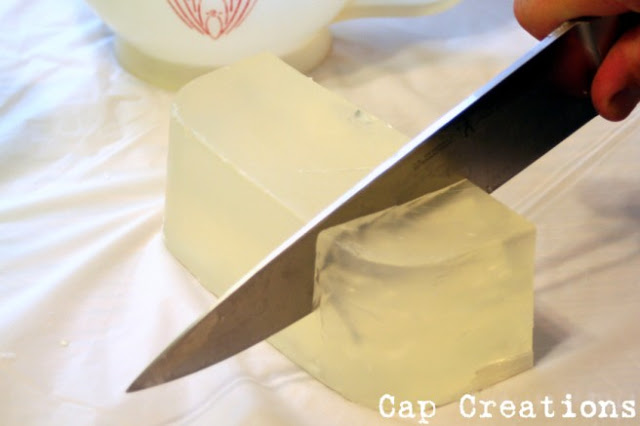
1. Cut soap into several small square pieces.
2. Place cut pieces in a microwave-safe bowl and melt in the microwave. (45 seconds on high then 10-second intervals until melted.)
3. This step is optional, if desired add the fragrance oil according to manufactures instructions and stir.
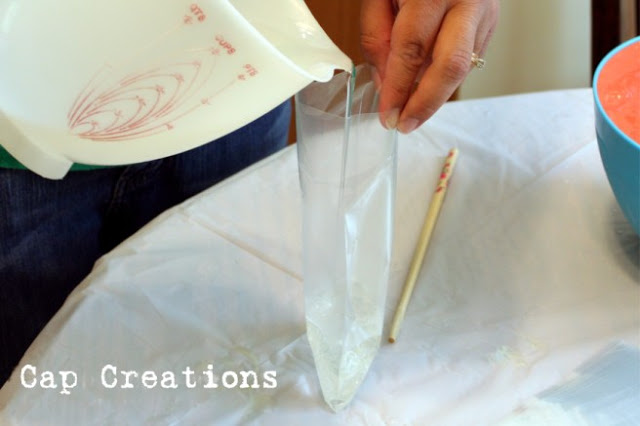
4. Carefully pour the melted soap into a clear plastic bag. Fill the bag about 1/4 full. Use caution not to get soap down the inside of the bag side.
5. Once the soap has been poured place the bag into the bowl of ice water. This will speed up the hardening process.
6. Quickly spray inside the bag with alcohol a few times, to pop any small bubbles that may have formed in the soap
7. Hold your fish so that it will drop belly down and carefully drop in.
8. Use the chopstick/skewer to quickly adjust the fish as desired.
9. Let sit in ice water for a bit longer and then remove.
10. Wrap with a twist tie, this will allow the top of the soap to form correctly.
11. Set aside in an upright position to harden.
12. When the soap has hardened, take off the twist tie to let the alcohol air/dry out.
13. Tie bags closed with a ribbon.
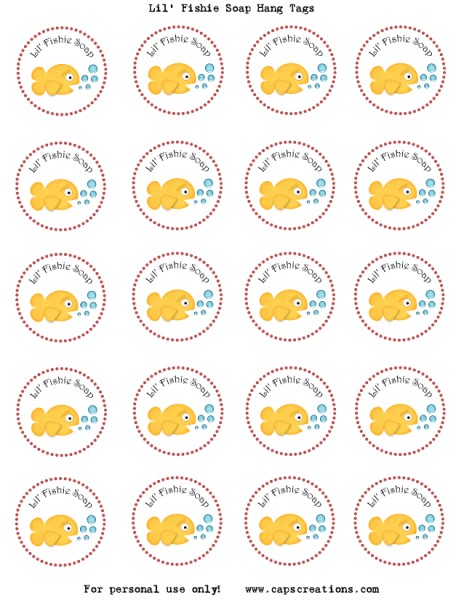
You now have a fishie soap in a bag! Or several of them actually! We added a cute little
hangtag for an added touch. You can pick up that
free printable here. Hope you enjoy making these as much as we did! PLEASE let us know if you do!
*Once we got the hang of how to do it we were able to do several at a time.
*Soap can be remelted if it starts to harden before you finish pouring.
*We used a 5 lb. block of soap and were able to make 24 fishie soaps.
*We got our soap from our local Joann's Store with a 40% off coupon.


